

I use crushed pecans, chopped garlic chives, and a bit of olive oil
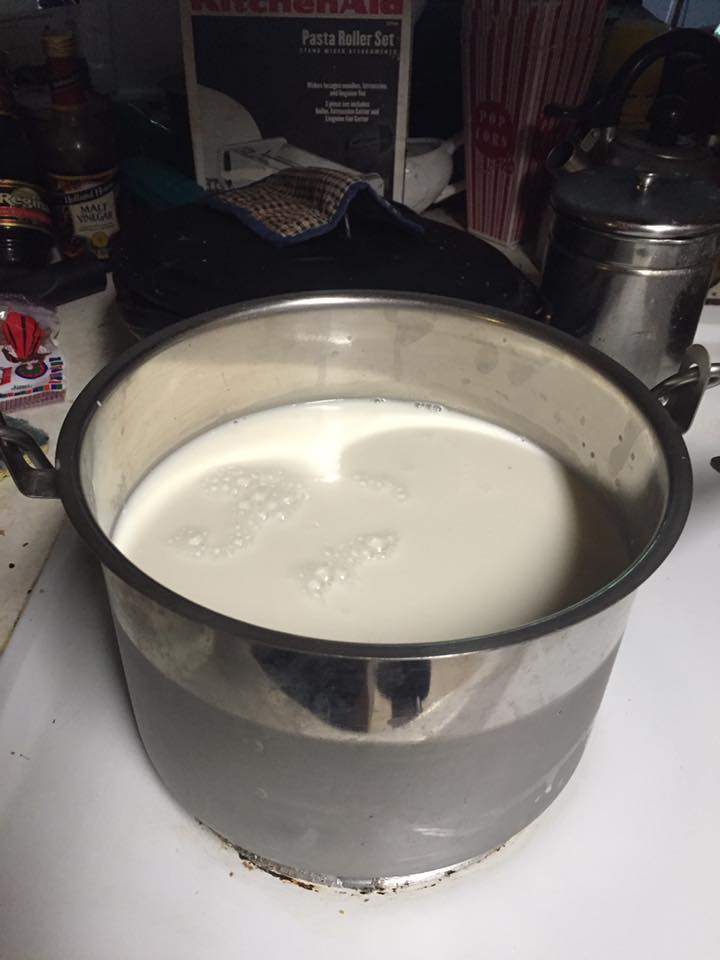
Best to use stainless steel pot heat milk stirring constantly to prevent scorching. Get the temp up to 170'-180' once you get it there keep it for 10min at that temp, make sure to keep stirring this is the time it can scorch.
Once 10min is up slowly pour in the vinegar and add lemon juice if you like, if you don't use it you might want to use a bit more vinegar but be careful don't use too much. Curds will start to form as you stir gently, turn off heat. Slowly

Line a colander with butter muslin under a pan that will catch the whey, I like using these white cotton dish towels I got from Walmart. Slowly pour in the colander some people like to grab it with a large spoon either way is fine.


Tie the corners into a knot, making a draining bag, and suspend this bag over a bowl to drain for a few hours, or until the queso blanco has reached the consistency you prefer. Usually about an hour just before it seems to form is when I add my salt in it, this is a good time to try to get it in the shape you want.

They also sell at the stores, cheese molds with holes you can use instead. This is how it comes out looking

Refrigerate in seal tight container will keep for about a week.
What to do with the whey? It’s packed full of protein, vitamins, minerals, and enzymes. Besides giving it to your dogs they love it, you can also use it for
There is a difference between acid whey and sweet whey depending if you want the acid taste of apple cider vinegar in your stuff use caution.
1. Substitute whey in any baking recipe that calls for water (or even milk) pancakes, waffles, etc..
2. You can make whey lemon pie http://www.theprairiehomestead.com/2013/06/lemon-whey-pie.html
3. I made pudding with it one day it came out pretty good, vanilla pudding with a hint of lemon from the whey yummy.
4. Use whey to lacto-ferment vegetables, condiments, sauerkraut, chutneys, they said to be careful with jams though.
5. Use whey to soak grains, Depending on your recipe, several tablespoons or more can be added to your grain and legume preparations to make them more digestible.
6. Use whey to cook pastas, potatoes, oatmeal, or rice
7. Add whey to soups and broths
8. Make a whey marinade. Add your favorite spices and seasonings (garlic, salt, pepper, maybe some rosemary to the whey and allow it to marinate your steaks, chicken, fish, or pork chops. The enzymes in the whey help to break down the meat and add flavor.
Apple Cider Vinegar from Scraps Note: I am not sure this will work with the cheese but I plan to find out later when our pears come in and I make some Pear vinegar to try with it.
Author: The Prairie Homestead
Recipe type: DIY
Ingredients
- Apple peelings or cores
- Sugar (1 tablespoon per one cup of water used)
- Water
- Glass jar (a quart is a great place to start, but you can definitely make larger quantities, too.)
Instructions
- Fill the glass jar ¾ of the way with the apple peels and cores.
- Stir the sugar into the water until it's mostly dissolved, and pour over the apple scraps until they are completely covered. (Leave a few inches of room at the top of the jar.)
- Cover loosely (I recommend a coffee filter or fabric scrap secured with a rubber band) and set in a warm, dark place for around two weeks.
- You can give it a stir every few days, if you like. If any brownish/greyish scum develops on the top, simply skim it off.
- Once two weeks has passed, strain the scraps from the liquid.
- At this point, my vinegar usually has a pleasantly sweet apple cider smell, but is still missing that unmistakable tang.
- Discard the scraps (or feed them to your chickens!), and set the strained liquid aside for another 2-4 weeks.
- You’ll know your apple cider vinegar is complete once it has that unmistakable vinegary smell and taste. If it's not quite there yet, simply allow it to sit a while longer.
- Once you are happy with the taste of your vinegar, simply cap and store it as long as you like. It won't go bad.
- If a gelatinous blob develops on the top of your vinegar, congratulations! You have created a vinegar "mother". This mother can be use to jump-start future vinegar batches. You can remove it and store it separately, but I usually just allow mine to float around in the vinegar as I store it.
- Use your homemade vinegar just like you would storebought vinegar-- for cooking, cleaning and everything in between!


